Domain & AWS Route 53 Configuration
To delegate DNS management of your custom domain purchased from Tenten.vn to AWS Route 53, perform the following delegation steps.
Step 1: Create a Hosted Zone in Route 53
- Log in to the AWS Management Console and navigate to the Route 53 service.
- Select Hosted zones from the left panel, and click Create hosted zone.
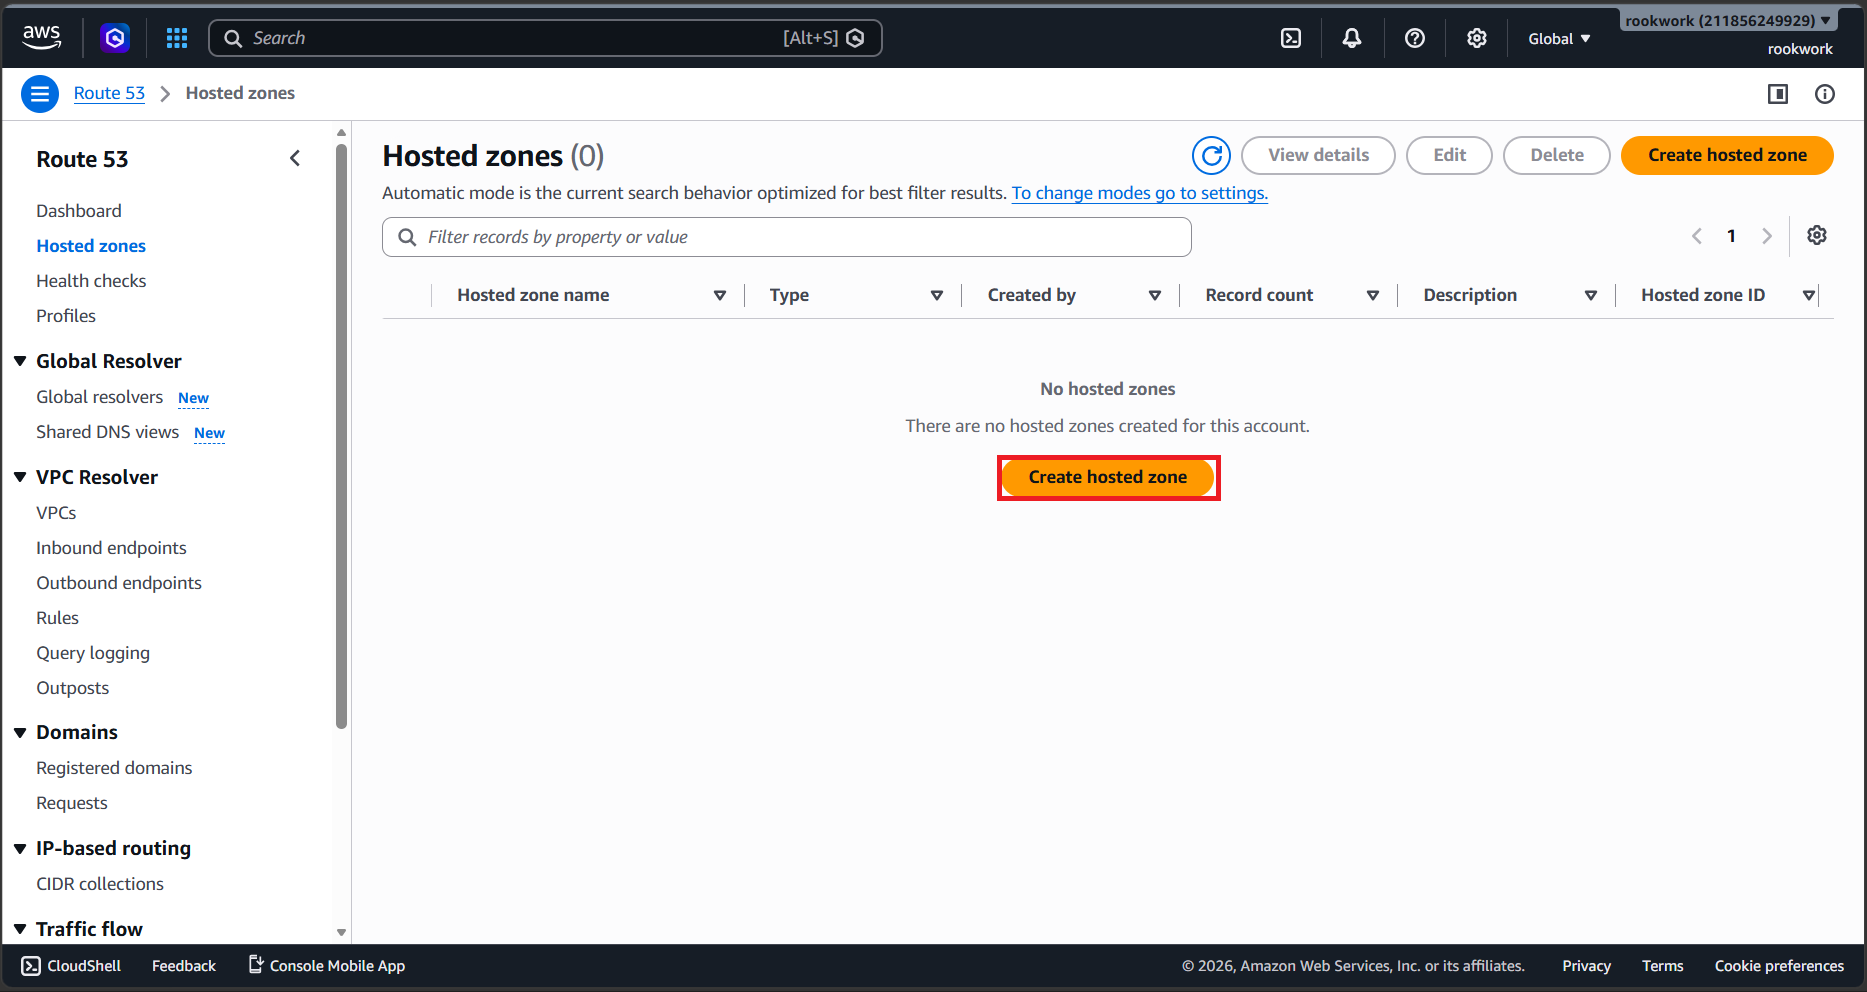
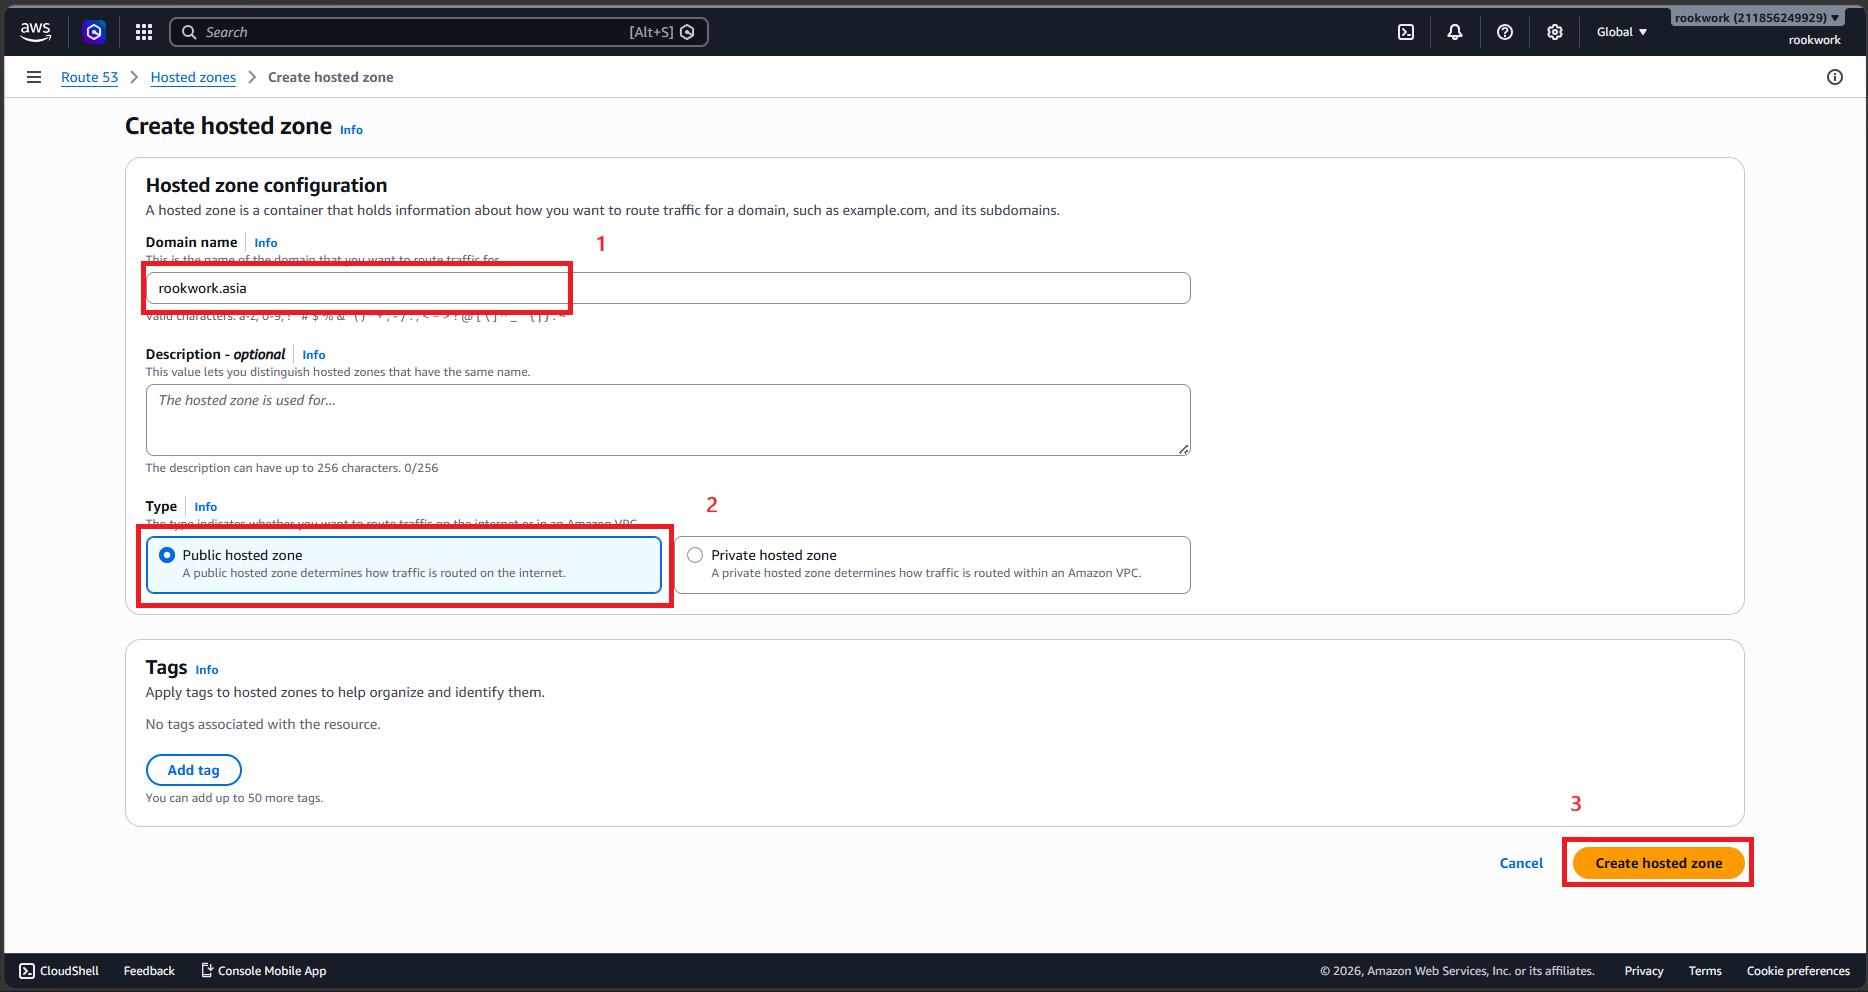
- Enter details:
- Domain name: Enter the exact domain name you purchased (e.g.,
rookwork.asia). - Type: Select Public hosted zone.
- Domain name: Enter the exact domain name you purchased (e.g.,
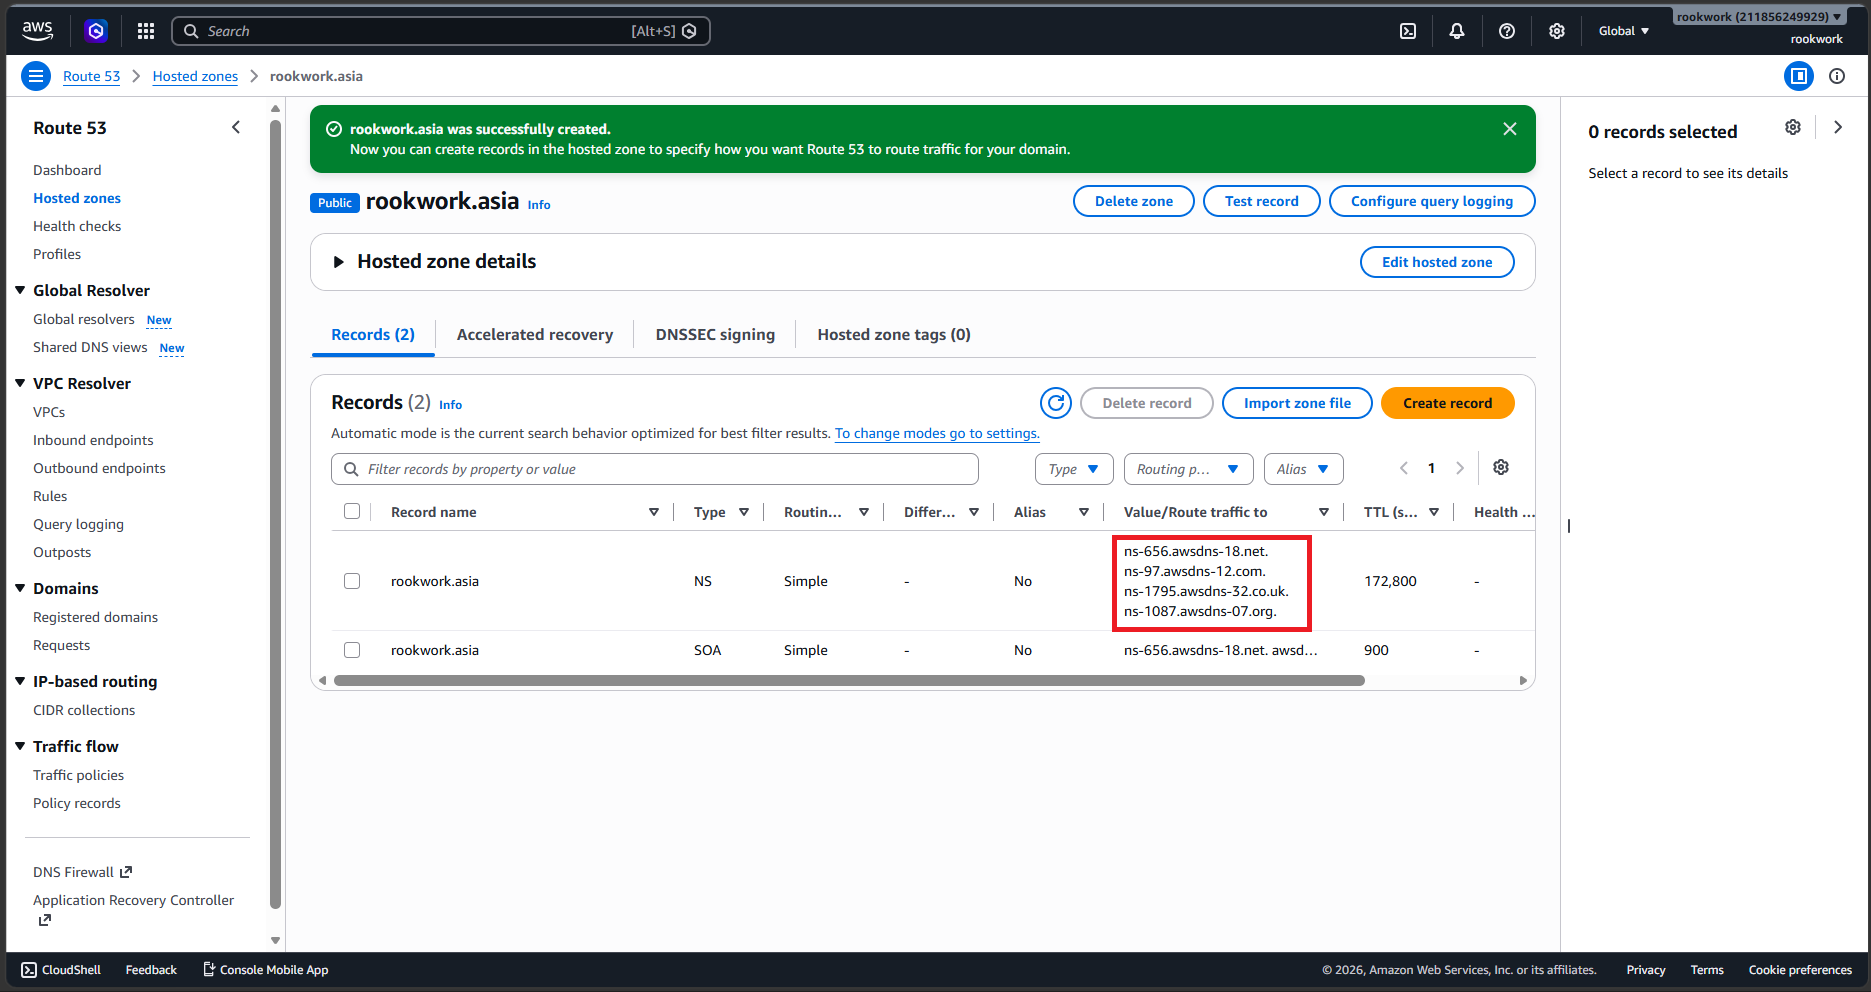
- Click Create hosted zone. The system automatically generates 2 default records: NS (Name Server) and SOA (Start of Authority).
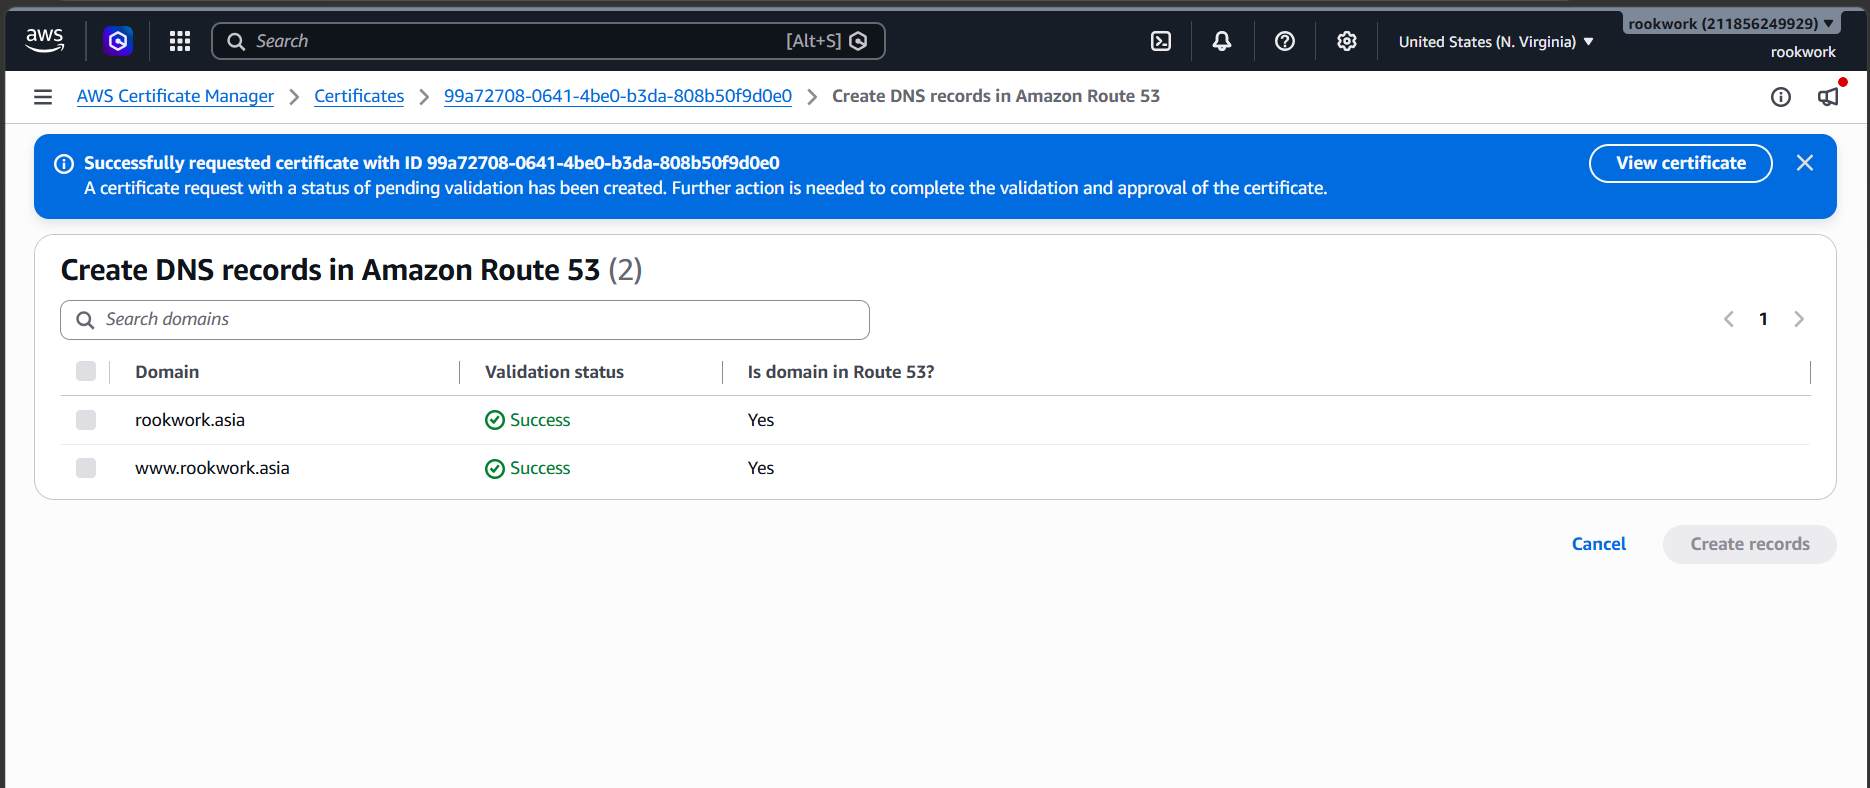
Step 2: Retrieve Route 53 Name Servers
- Click on the Hosted Zone you just created.
- Locate the record with type NS.
- Copy the 4 Name Server addresses listed in the Value column (e.g.,
ns-xxxx.awsdns-xx.com., note to omit the trailing period when configuring on Tenten).
Step 3: Configure Name Servers on Tenten.vn
- Log in to your customer portal on Tenten.vn.
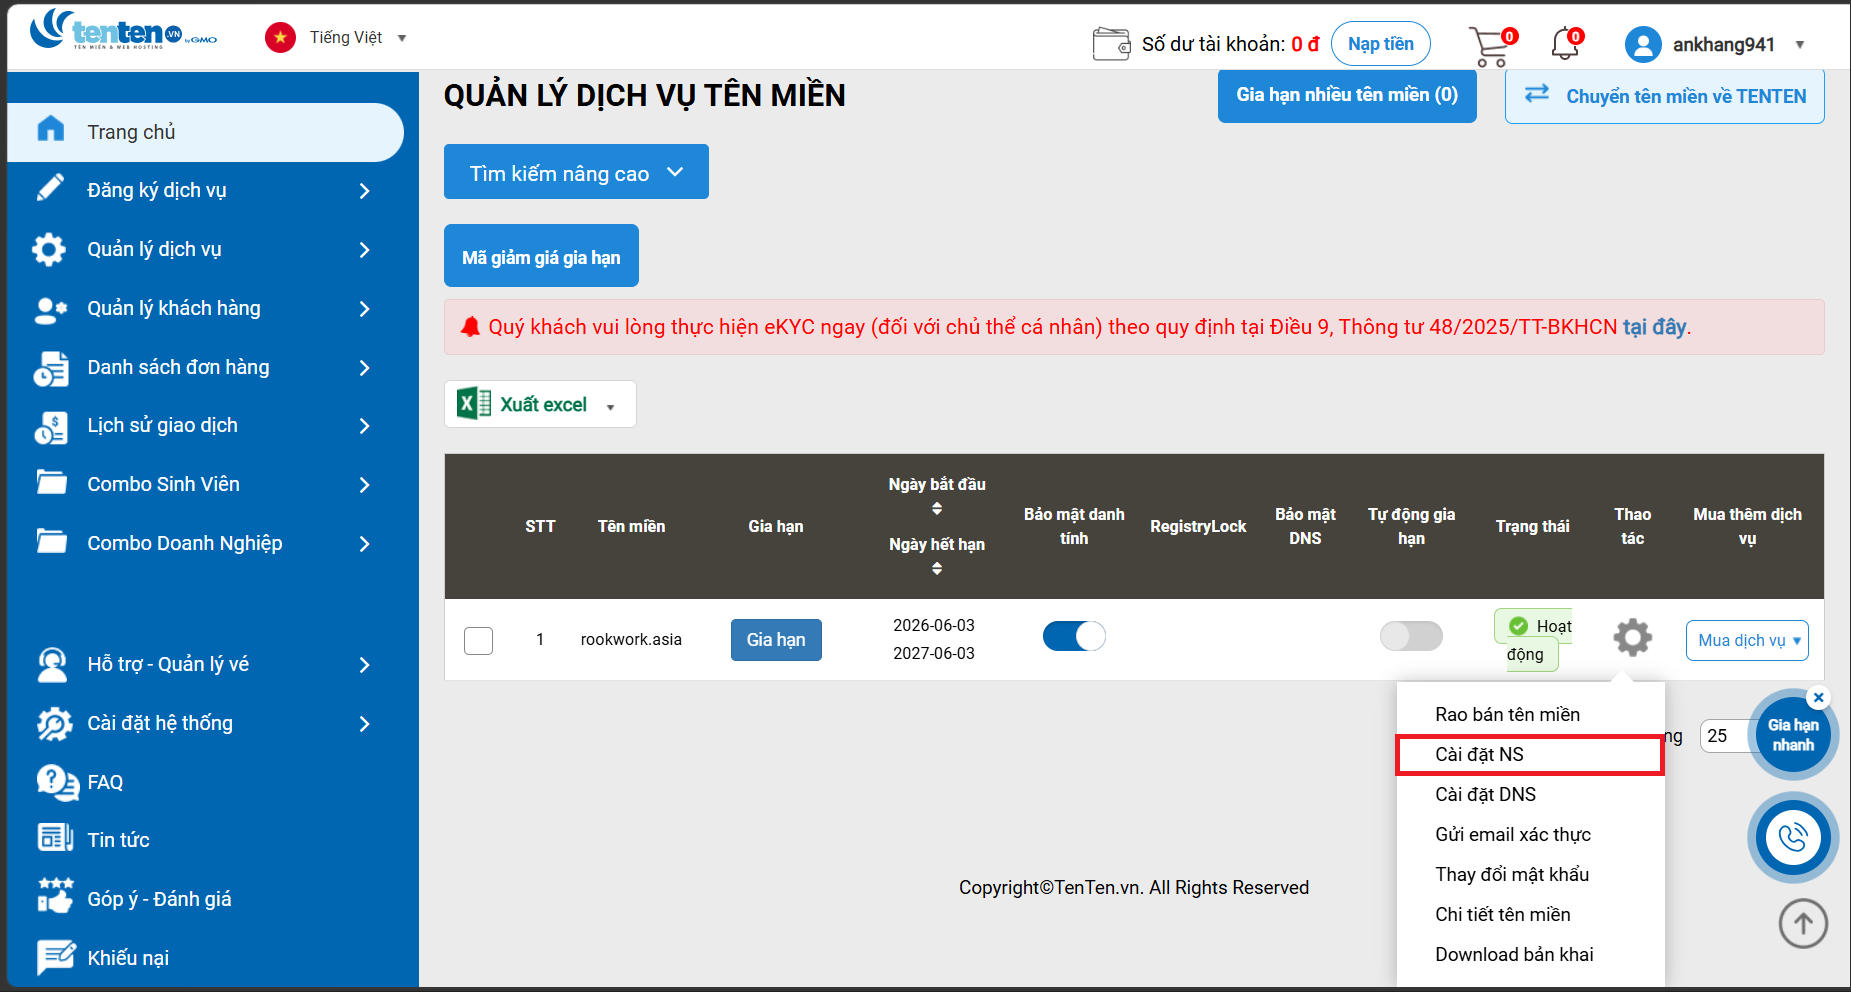
- Navigate to your domain list, and select Configure Name Server (NS) for the corresponding domain name.
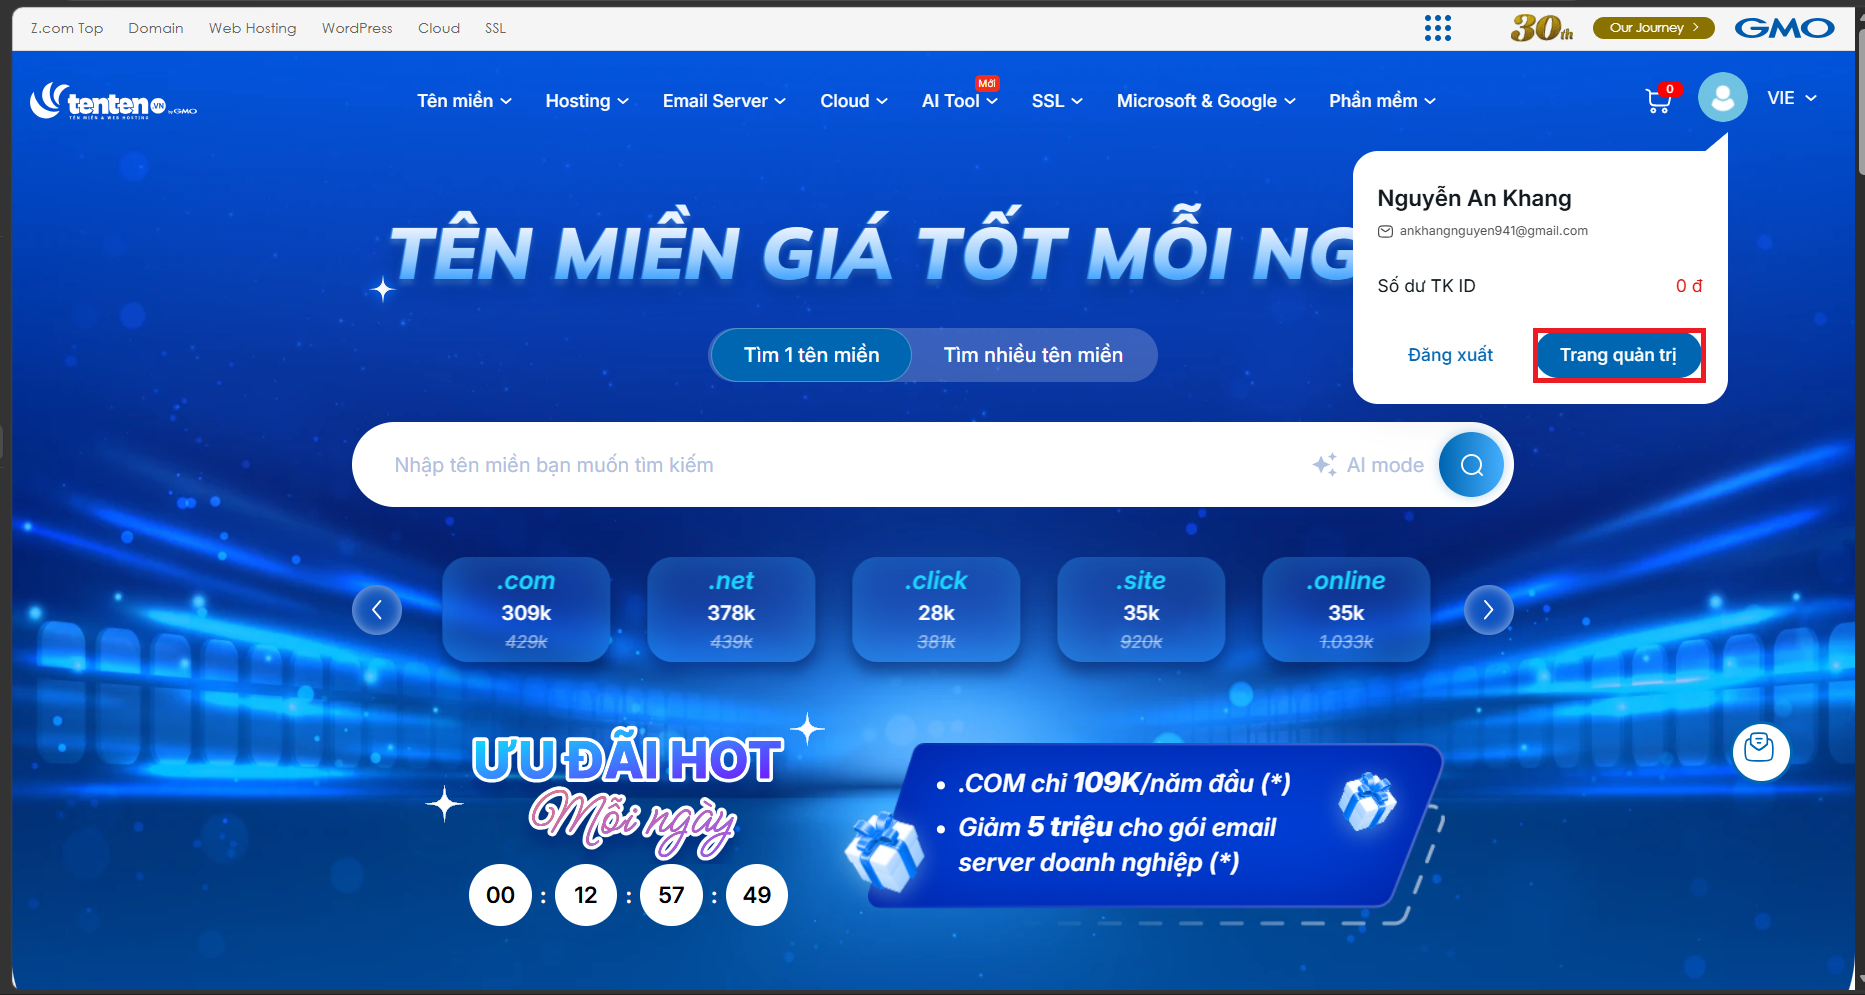
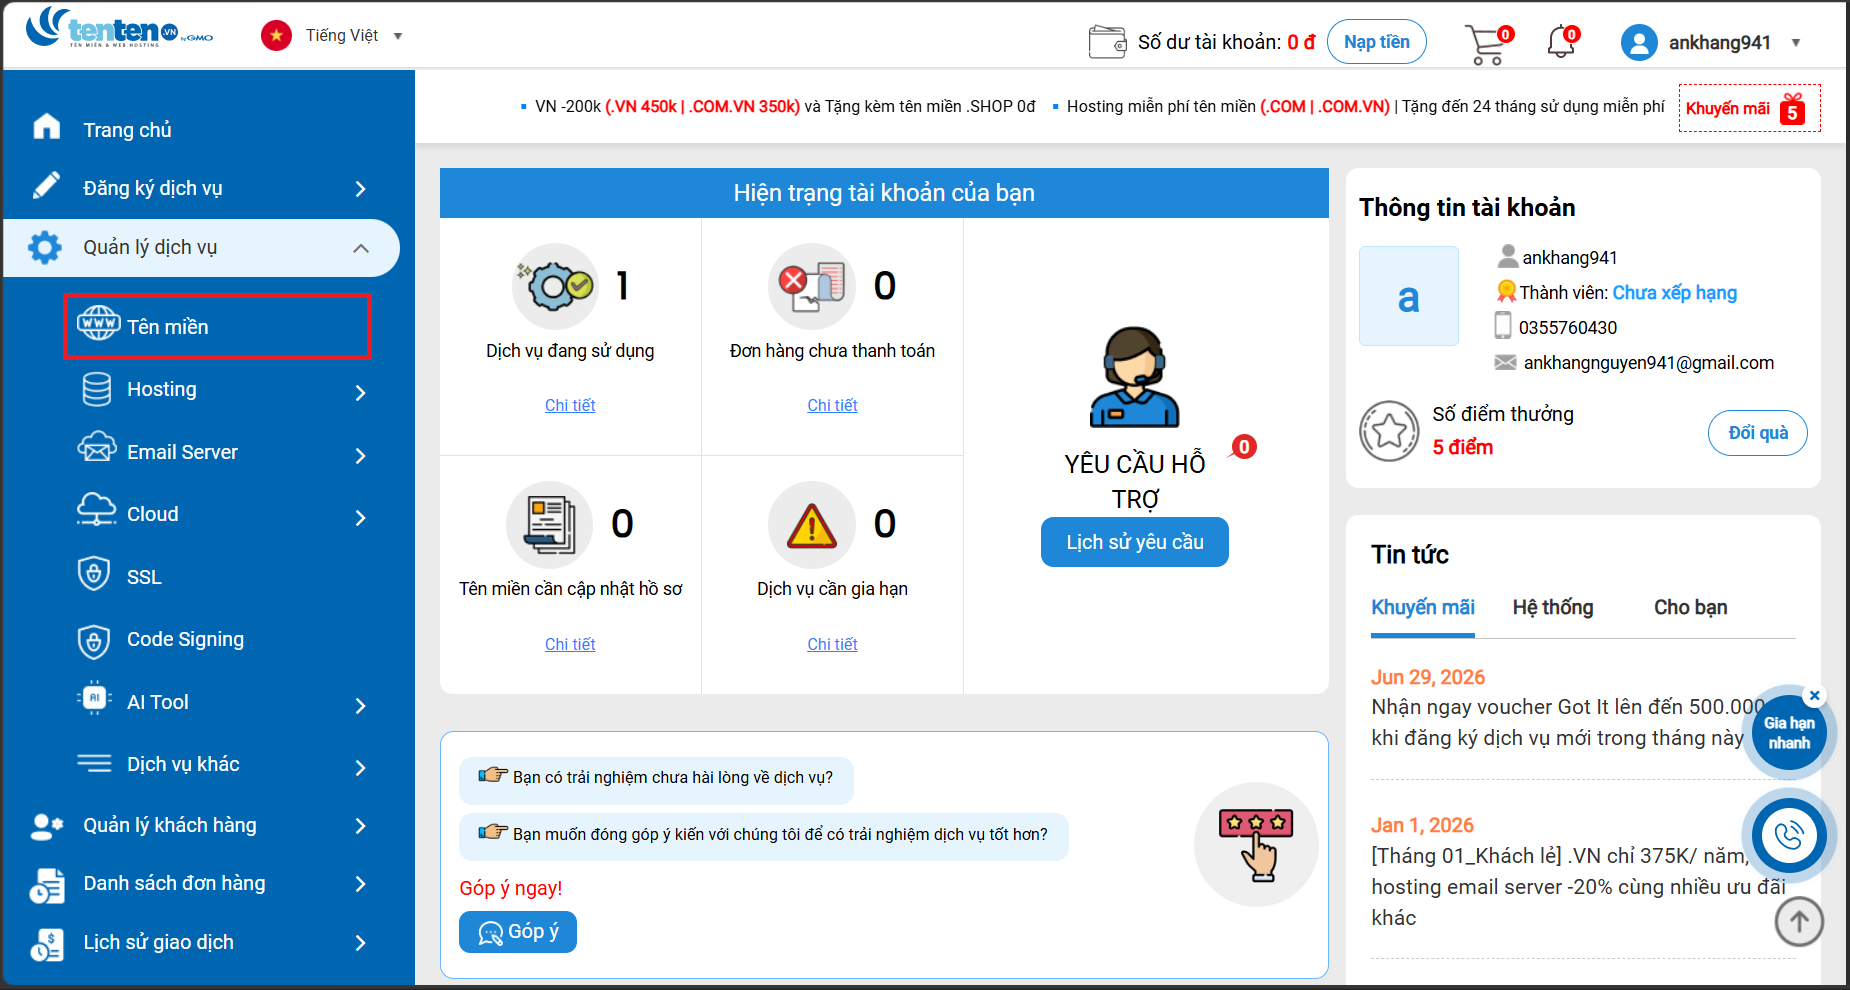
- Replace Tenten’s default name servers with the 4 NS addresses copied from Route 53 in Step 2.
- Save the configuration.
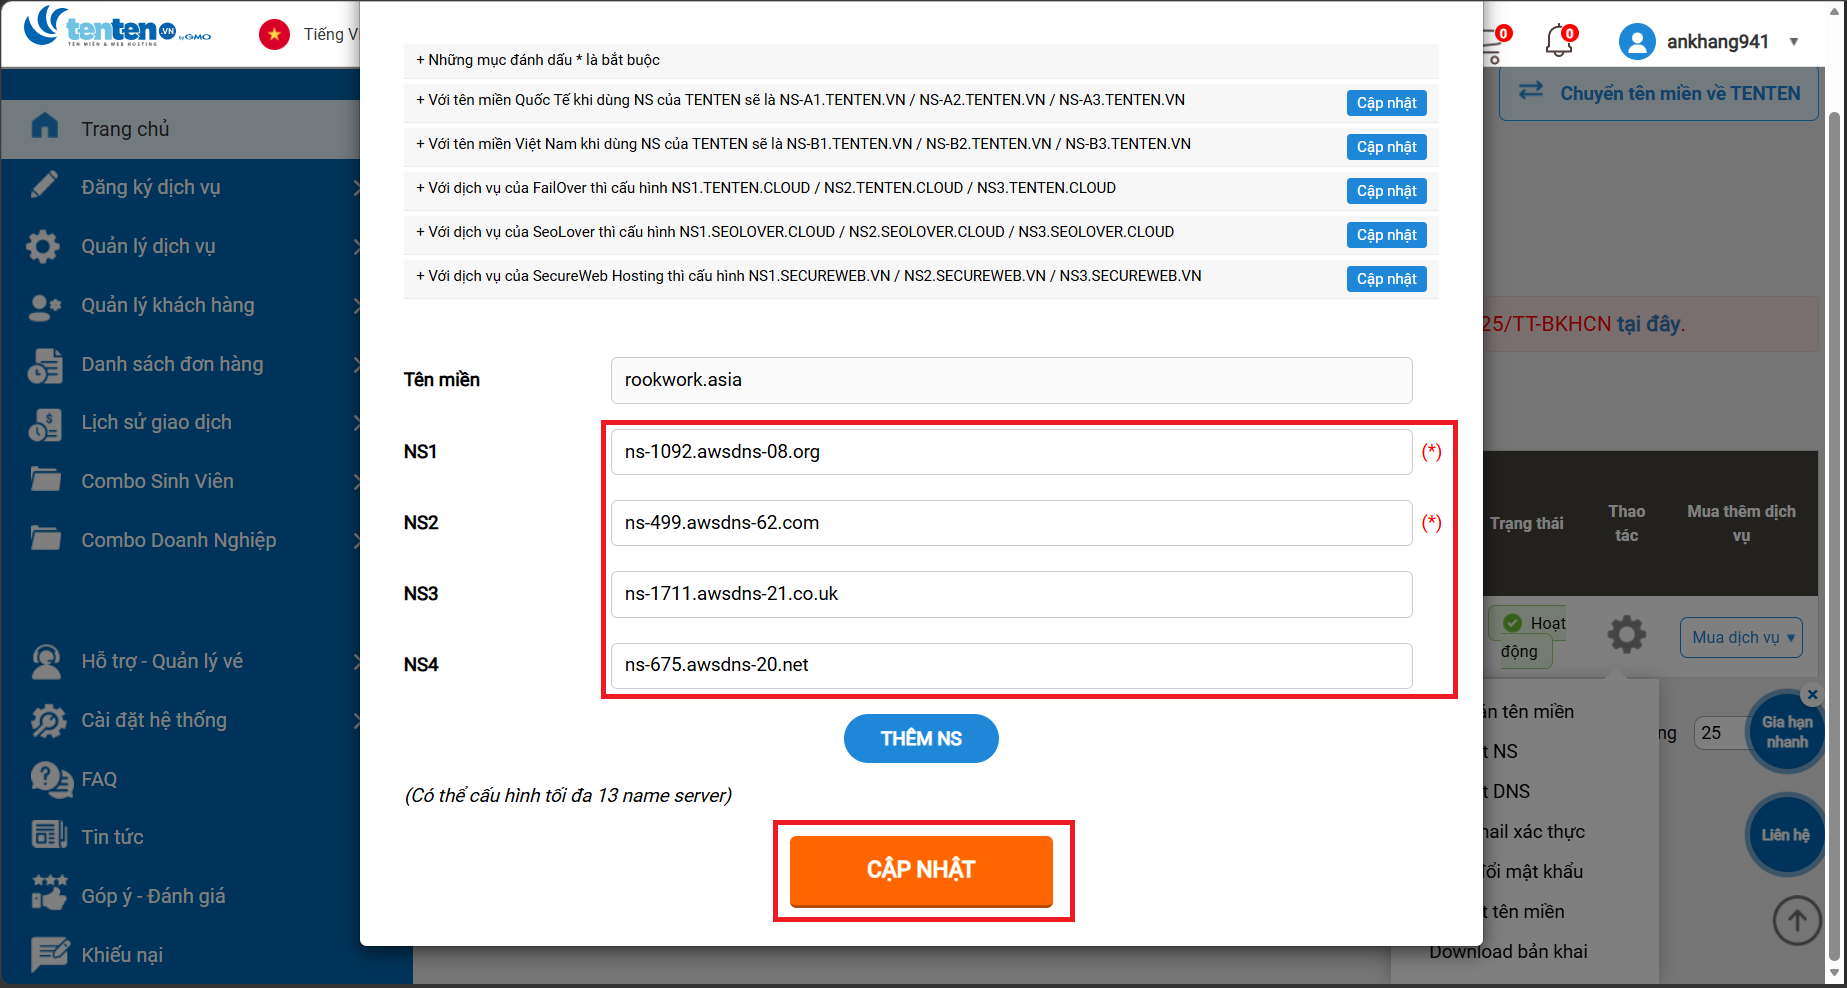
(Note: Global DNS propagation can take anywhere from a few minutes up to 24 hours to fully update).
Once DNS delegation is configured, proceed to 5.7.2. Static Website Hosting with S3 to prepare hosting for your Frontend assets.